When it comes to car maintenance, headlights are often overlooked. But headlights are essential to your car – they allow you to see in the dark and help you stay safe on the road. Headlight restoration is a process that can improve the appearance and performance of your headlights. This guide will show you how to restore your headlights using a few simple steps. We’ll also provide tips on keeping your headlights looking their best.
Steps of polishing your car headlights
Washing
The first step is to wash the headlights with soap and water. It will remove any dirt or debris that could prevent the polishing from being effective. Next, you can use wet wipes or a soft cloth to wash the headlights. It is also a good idea to clean your lenses with a spray or isopropyl alcohol and a microfiber towel. It will keep the surface clean and free of contaminants.
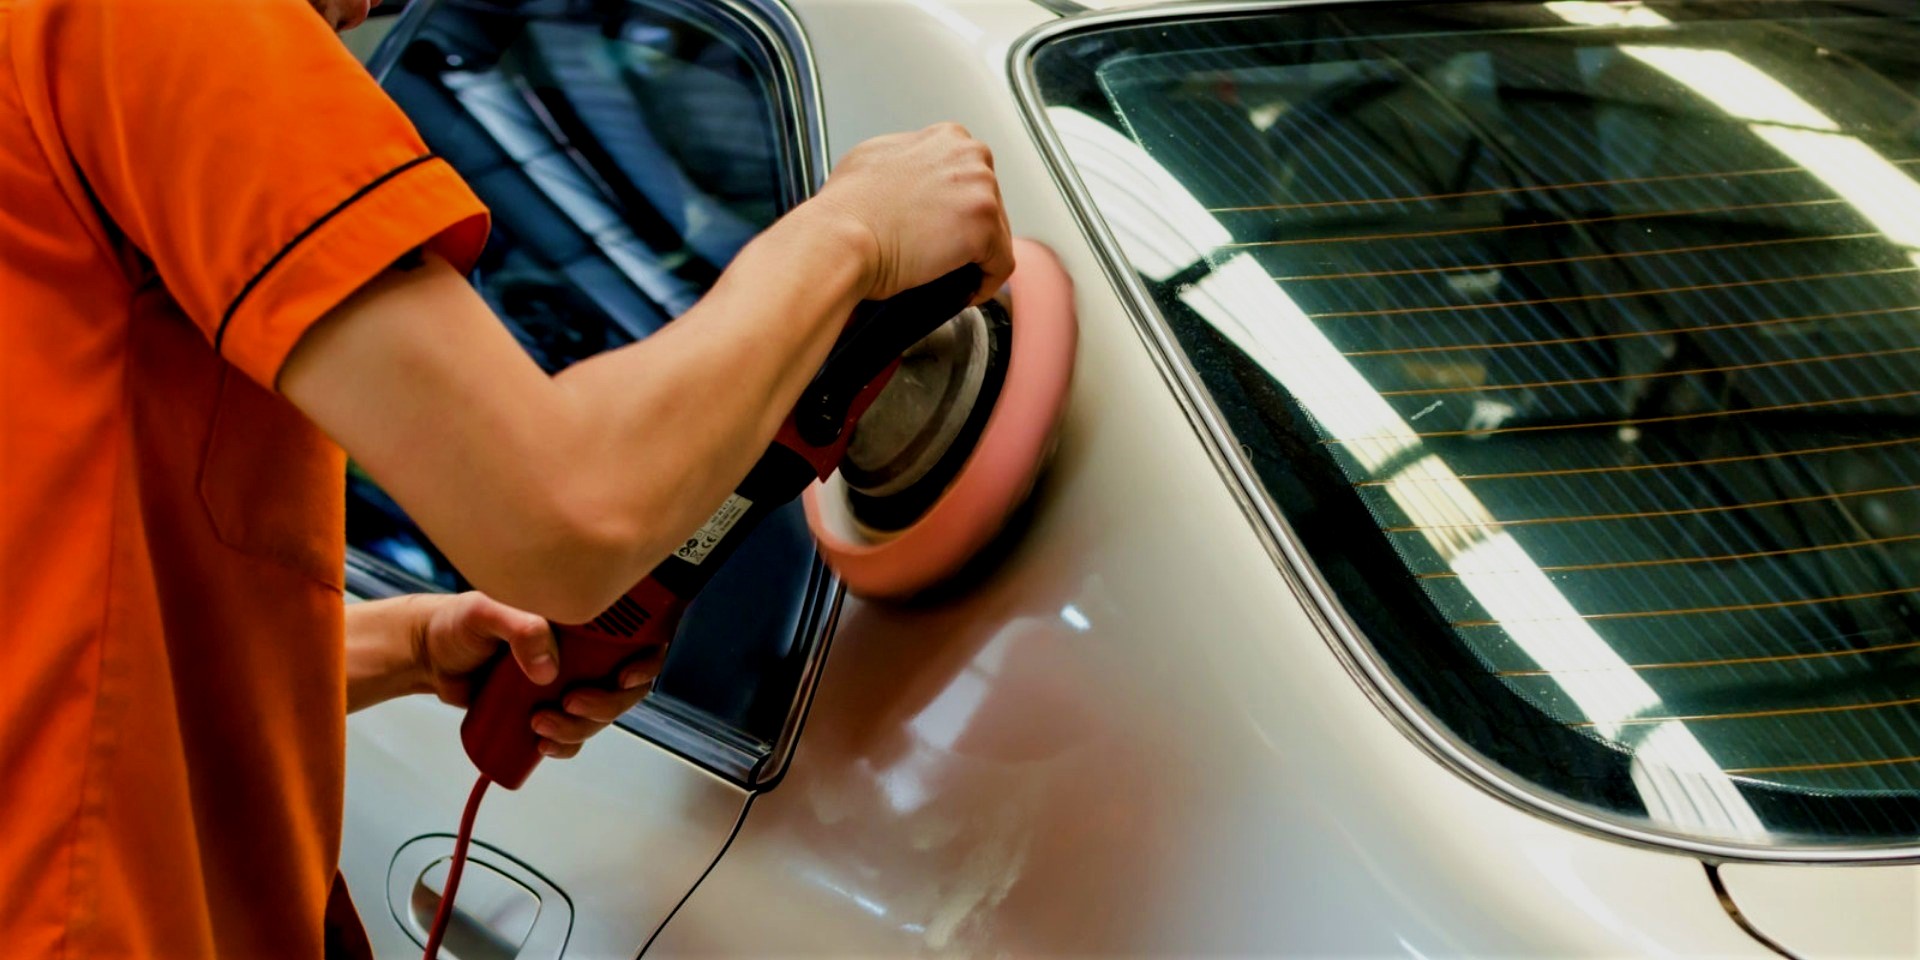
Polishing
Now you can attach the polishing pad to your orbital sander with vacuum attachment or to a drill. Apply some polish to the pad and add a few drops of the product you will use to polish. Set your drill or polisher to a high speed. Place the drill or polisher onto the headlight surface and spread the product around. Now that the polisher is in contact with the lens, turn it on and begin polishing the lens slowly in a left-right-up-down pattern. You will want to move slowly and apply firm pressure. Be careful around the edges and make numerous overlapping passes. You can correct hard-to-reach areas with a hand polishing pad or a microfiber towel.
Make sure that your pad is rotating evenly and not vibrating. Make a small mark on the backing plate with a permanent marker. The pad must be flat with the lens surface while spinning. After making a few overlapping passes, the headlights should look much better. Wipe off the remaining product using a microfiber towel and check your work. If necessary, repeat the polishing process.

Sanding
You can wet the plastic and buff it again if severe discolorations or scratches remain. It will remove imperfections and even out problem areas. You can then polish them to a clean finish.
First, spray a lot of clean water onto the lens surface. Always wet the work surface with water and keep spraying while you work. Do not let the surface dry out.
You are now ready to begin wet sanding. It is better to set the paper on a manual sanding block.
In most cases, you can use the same type of grit for the entire job. For example, you can use 2500 grit, and it worked well. However, if you want a more aggressive approach, start with a lower grit, such as 1000. But remember that removing marks from lower grit sandpaper can be more complex if you don’t sand properly.
To sand the headlights:
- Move the sandpaper back and forth.
- Do not go in a circle.
- Apply even pressure.
If there are any spots you can’t reach with the machine, use a hand polishing sponge or microfiber towel to remove them.
Applying the protectant
After wet sanding your headlights, continue polishing them until the sanding marks are gone, and they look clear. They should look better than they did before. After you polish your headlights, clean them off with a diluted mixture of isopropyl alcohol. It will remove any leftover oils or residue. Then, you can apply the protectant.
You can also use a paint sealant. Again, follow the instructions on the product. This product will bond with the plastic on your headlights and create a protective UV coating to increase transparency and prevent the light from fading again in the future. Now you can take the tape off and admire your work.